One day, I decided to look for some EOS hardware, a programming wing, maybe a fader wing. I figured that I use the actual hardware enough at venues, might as well get some of my own to bring, or program on. But after a quick trip to Full Compass, I realized that this gear is much more expensive than I could afford. Even used on eBay, this stuff holds it’s value (ETC hardware is usually VERY durable). So I figured I’d take on the challenge, and build a console myself, from scratch, integrating a couple extra features along the way. So, step one, the programmer.
Building The Programmer
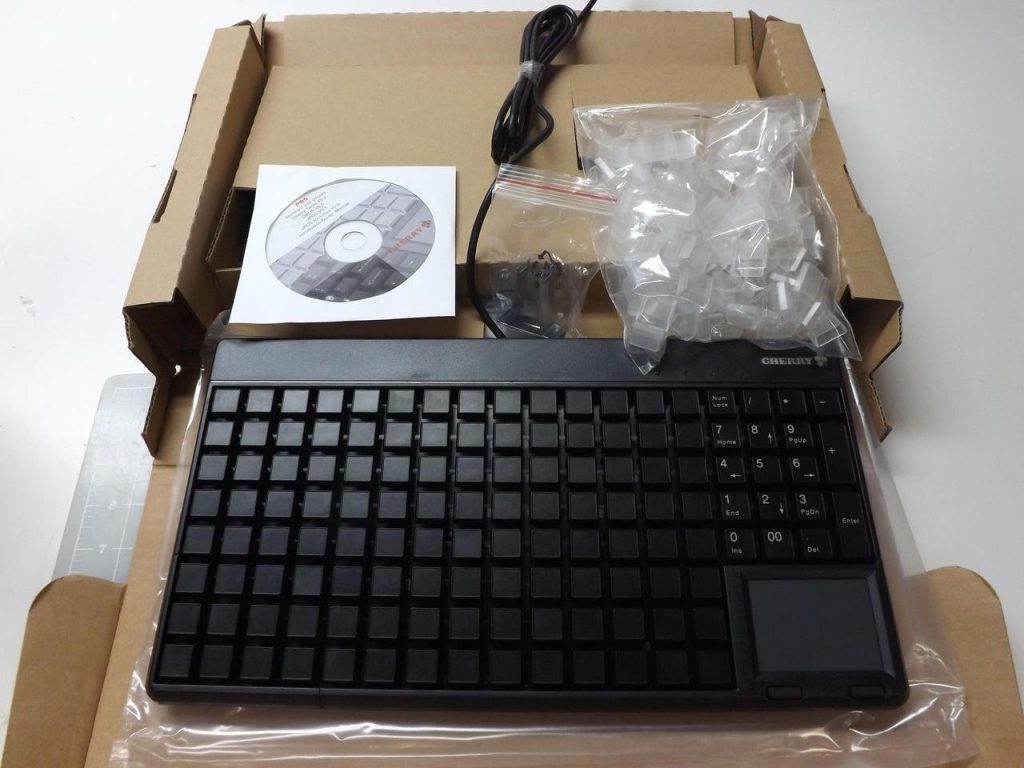
Probably the most important part of the console. The programmer is essential to getting efficient work done. Obviously, we can’t just use a normal keyboard, the keys are spaced oddly and would be hard to label. My solution was to use a Cherry Rows and Columns keyboard, meant for POS use, which lucky for us, is about 30$. When you order it, this is what comes in the box.
Labeling
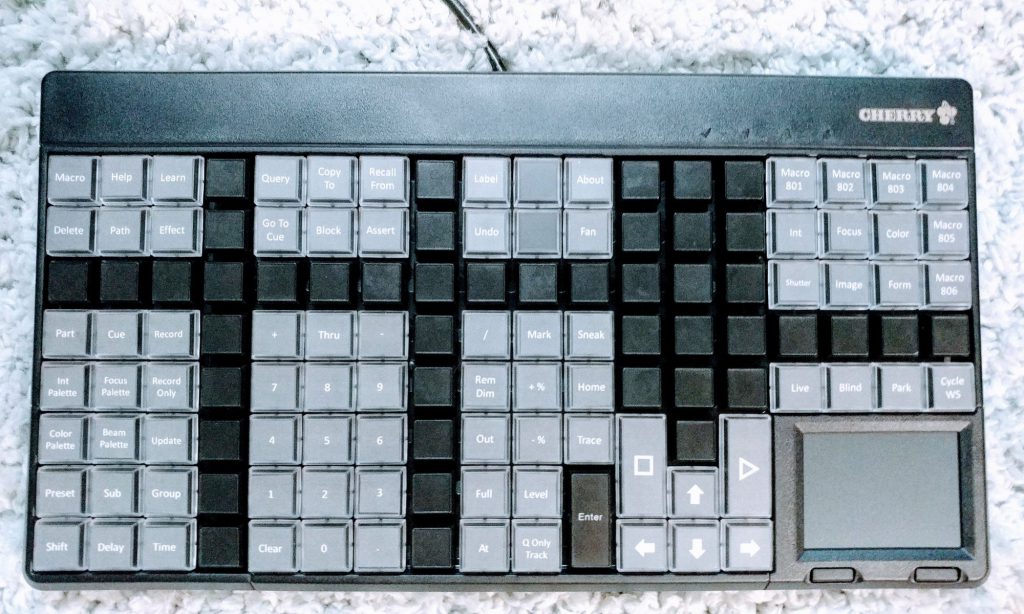
The keyboard, a key removal tool, and, most importantly, glendable keys, which is just a fancy work for keys that can be relabeled. Speaking of labeling, that part comes next, print out this template, and get to work cutting out the labels, putting them on the keys, and putting a clear plastic cover over them. Pay attention to the 2 double tall keycaps, they need to be moved. I actually have 3 double tall buttons on this, so I used the 2 keycaps, left one uncovered, and used that cover across 2 physical keys.
Programming
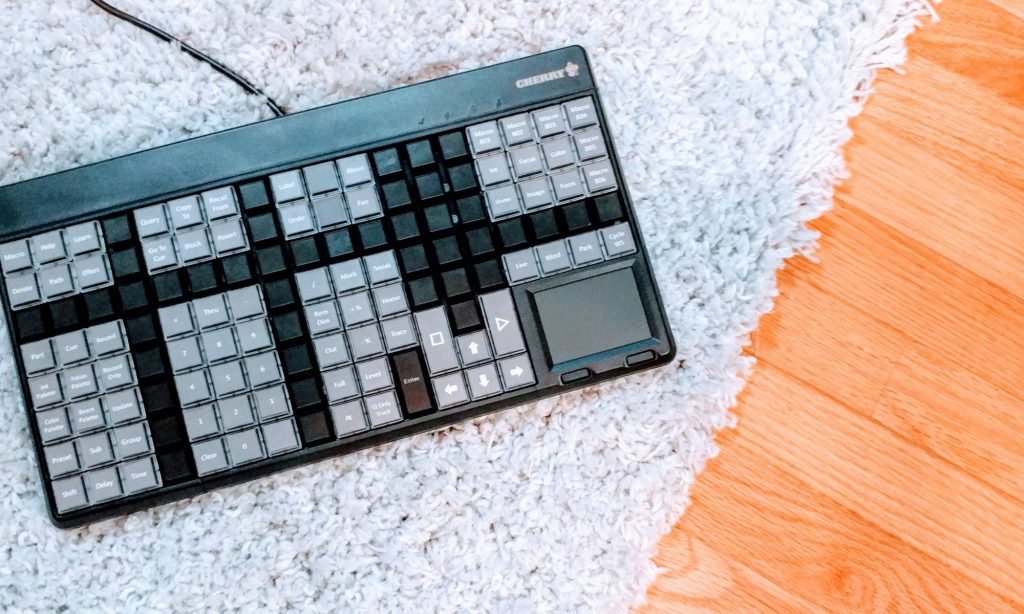
After the labeling is done, we’re on to the last step, programming the keyboard! You can download the config I made below. I tried as closely as I could to replicate the layout of the new Ion XE. Simply open the file up in Cherry Tools, plug in your keyboard, and click activate. Boom, you are now the proud new owner of a DIY Programming wing. Another nice bonus of using this keyboard is that all the macros it preforms to access various functions are internal, meaning that there is no extra software needed to make it work, so feel free to plug it into a puck, or even a full-size console.
Check back here soon for my next step of DIY EOS, the case, computer, and networking! But for now, enjoy some glam shots of the finished product.

Good luck with your builds! I’ve set up a Github repo for this project if any of you would like to make improvements. Make sure to come back and let us know how you did, and any fun modifications you could think of!

Pup Atlas, Chief Good Boy